SYSTEMS, SHADERS, AND ANIMATION PIPELINE
When I first joined Thread I was tasked with designing and implementing shaders, visual effects, and audio systems tied to the mental and physical state of the player character:
SHADER ITERATIVE PROCESS
- Planning:
I began by learning more about the world, the character, and the different situations the character was going to encounter. This was done to understand where the main character was coming from and better reflect them through the shaders and visual effects. When exploring different options for new shaders we would need, I considered our target platforms and their capabilities as well as what we wanted to achieve in-game. The team prioritized vision over compatability. - Testing
When approaching testing I had to design and implement shaders that connected to already built sytems and design with user simplicity. This meant defining how the system would connect to the shader prior to developing the shader and exposing the minimum viable variables that would interact with the system. I often provided multiple examples of different shaders we could use for the same or similar effects and broke down the pros and cons for each case. - Implementation:
Implementing the shaders was a fairly smooth process due to the constant conversations our team would have of what systems they would interact with and how. This allowed us to plan out details and build solid frameworks that would be applicable to the development of multiple shaders. I connected the shaders I worked on to the built out systems which usually only meant connecting exposed values into the script. - Wrap-up:
Wrapping up each shader meant that both the systems and shader would not be tweaked any further. We usually did this by testing multiple times and identifying edge cases where things did not work was planned. We would then adjust what we needed to adjust and test more until it was ready for the final product.
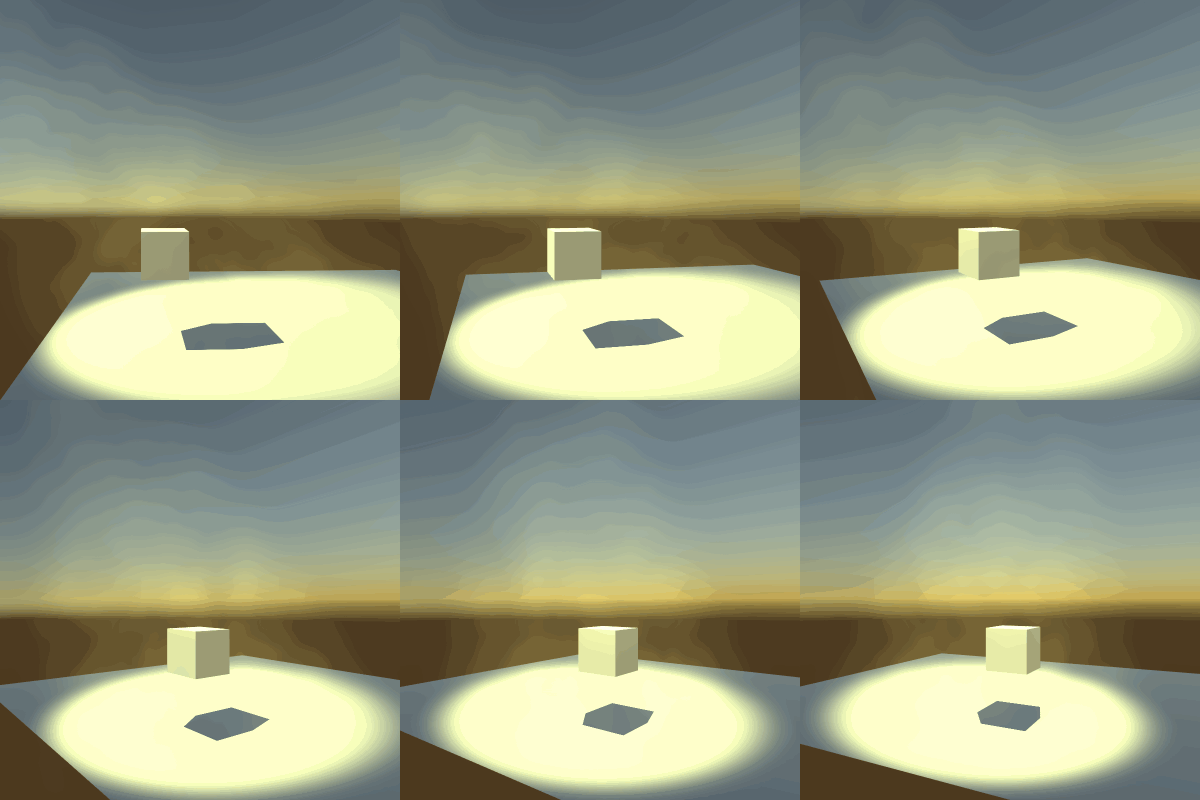
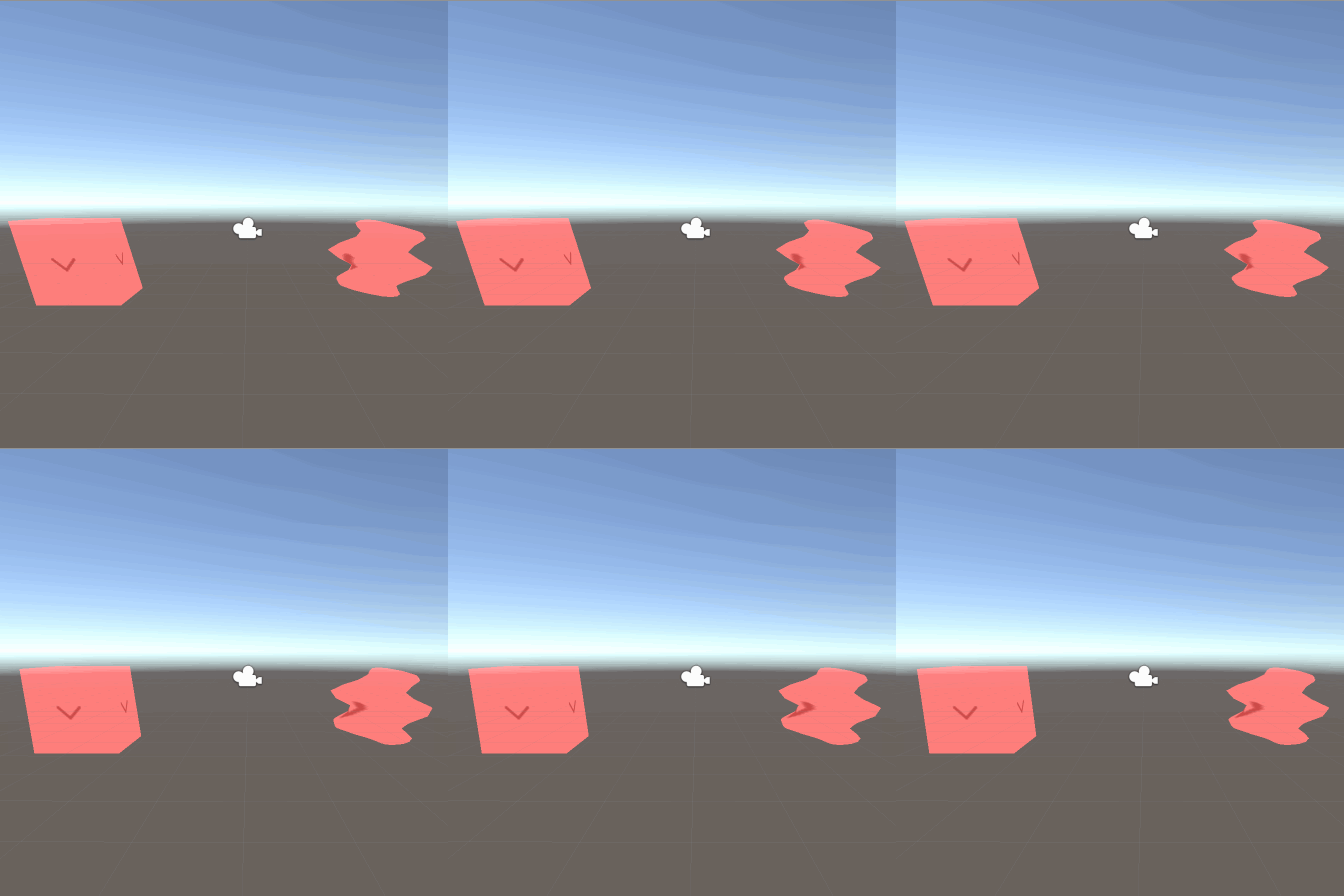
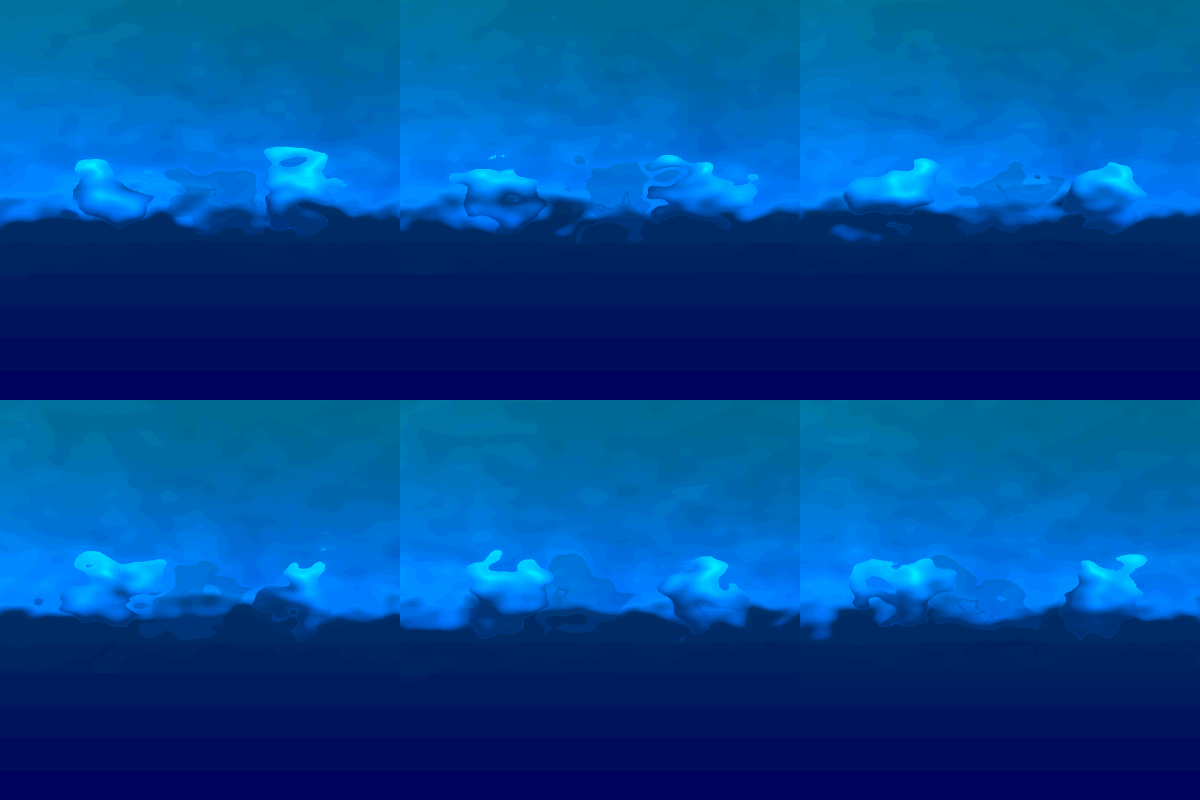
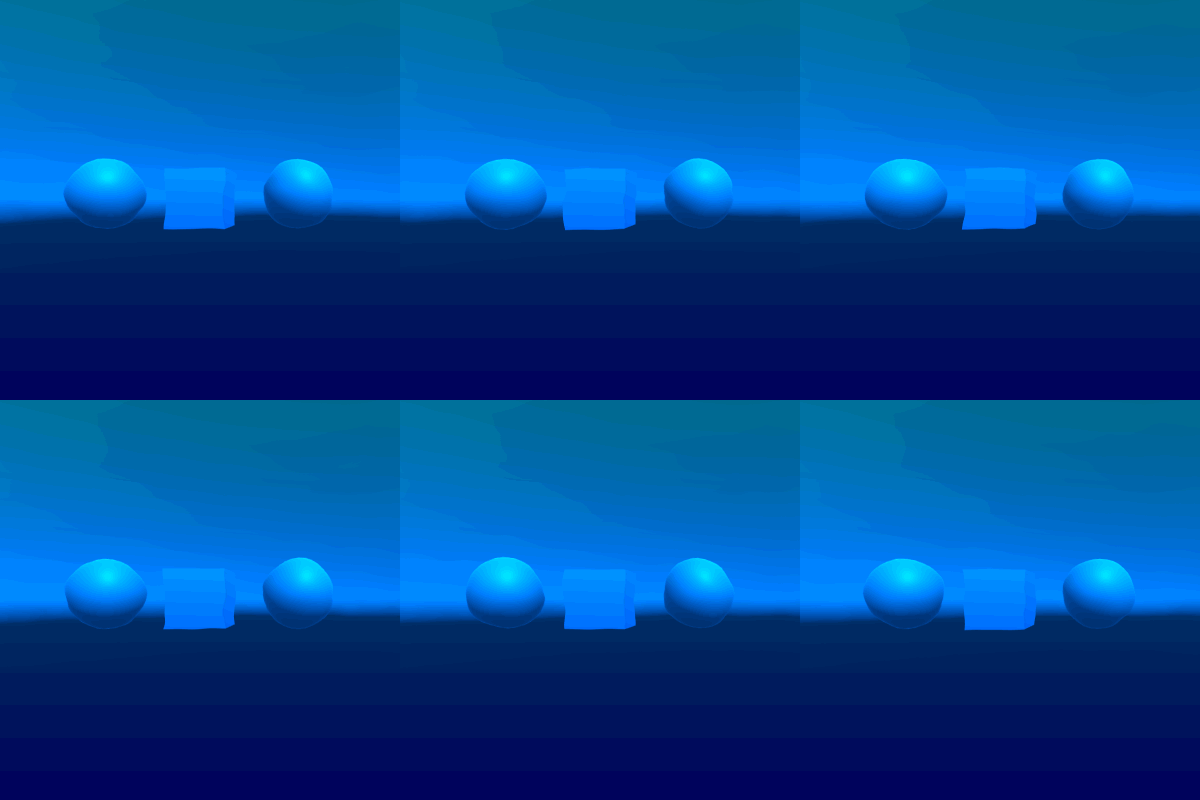
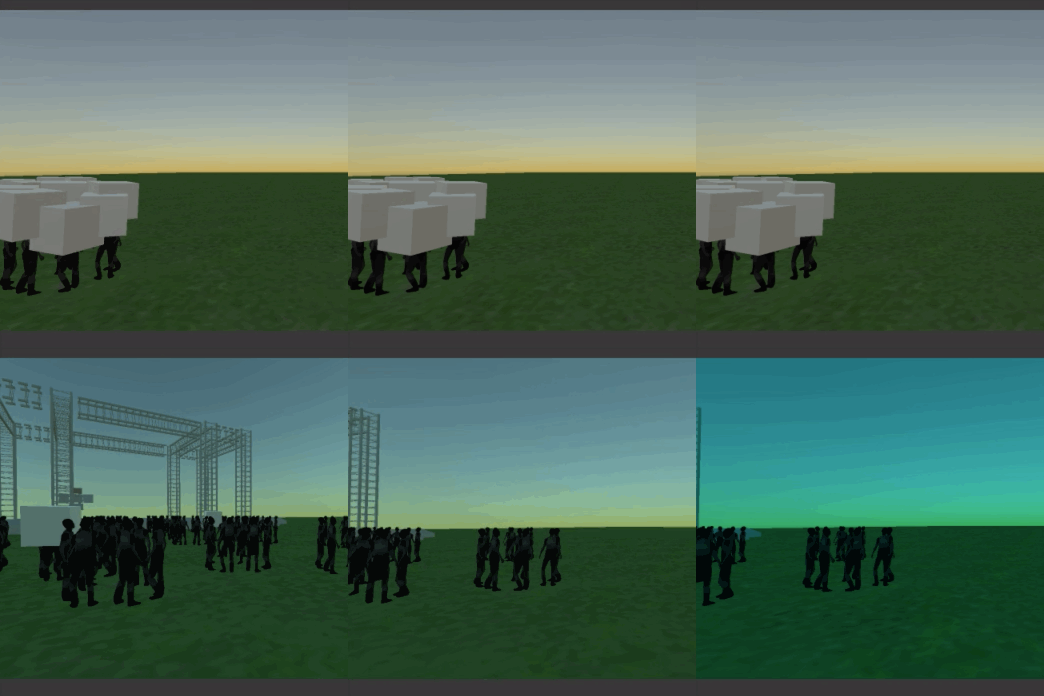
During development of the different visual effects I would provide examples of different solutions for overall the same end goal and provide the pros and cons for each solution. For example, in the above images the second image from the left and the third and fourth image from the left are both solutions to distorting objects and the world to reproduce a light distortion similar to when looking at objects through moving water.
The second image uses vertex displacement on individual objects and the third image uses an image effect shader on the texture produced by the camera. I explored and tested these two solutions and communicated to the team that the image effect shader (third image) was better suited for the underwater segment we had planned. This was due to multiple reasons such as image effect being far less expensive on the system, it was far more managable to have one shader on one object then managing and optimizing for multiple prefabs, and the image effect shader allowed us to influence the entire viewport of the player instead of specifying which objects would be influened.
As we neered the completion of the shader I began refining the effect to be more subtle as the first example (third image from the left) was a very intense and wall-breaking effect. I brought down the perlin noise influenec and had a much more subtle effect at the end.
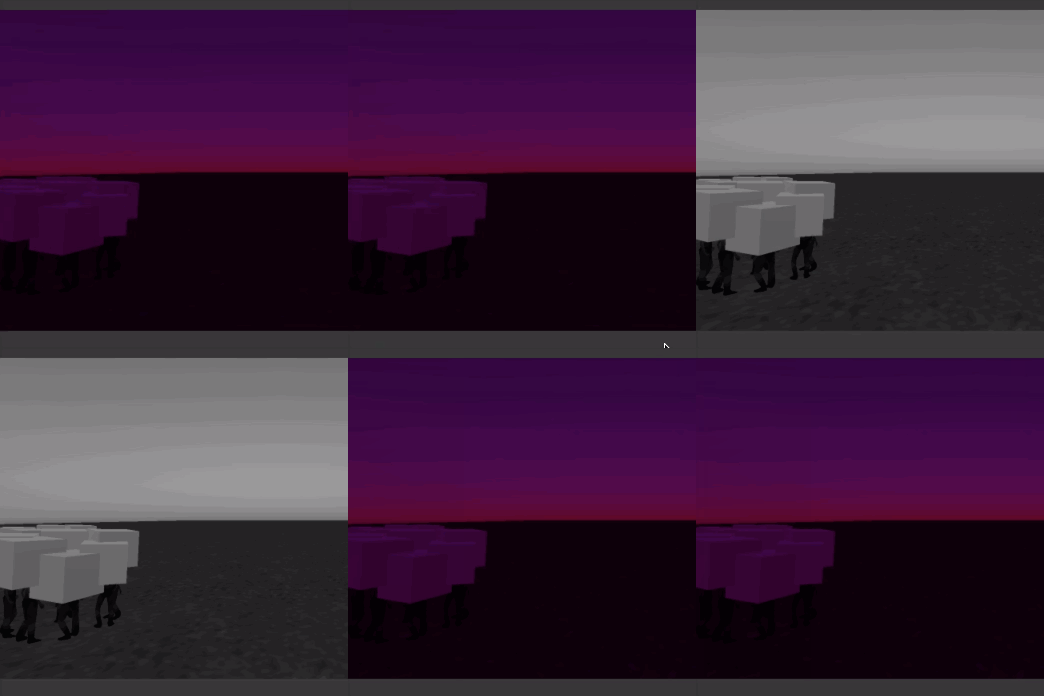
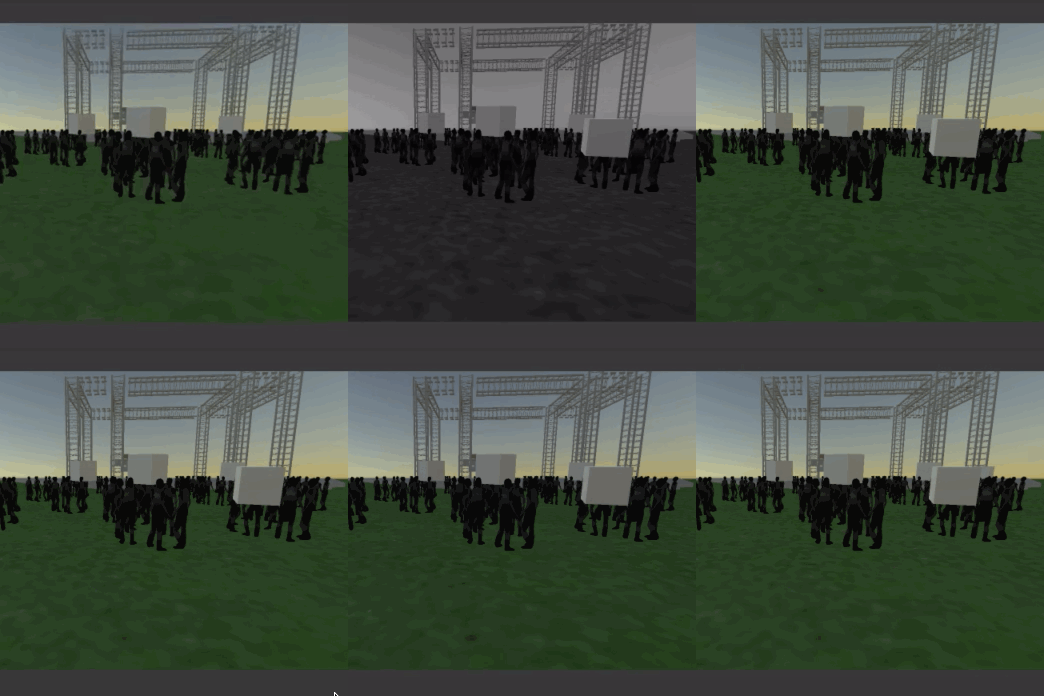
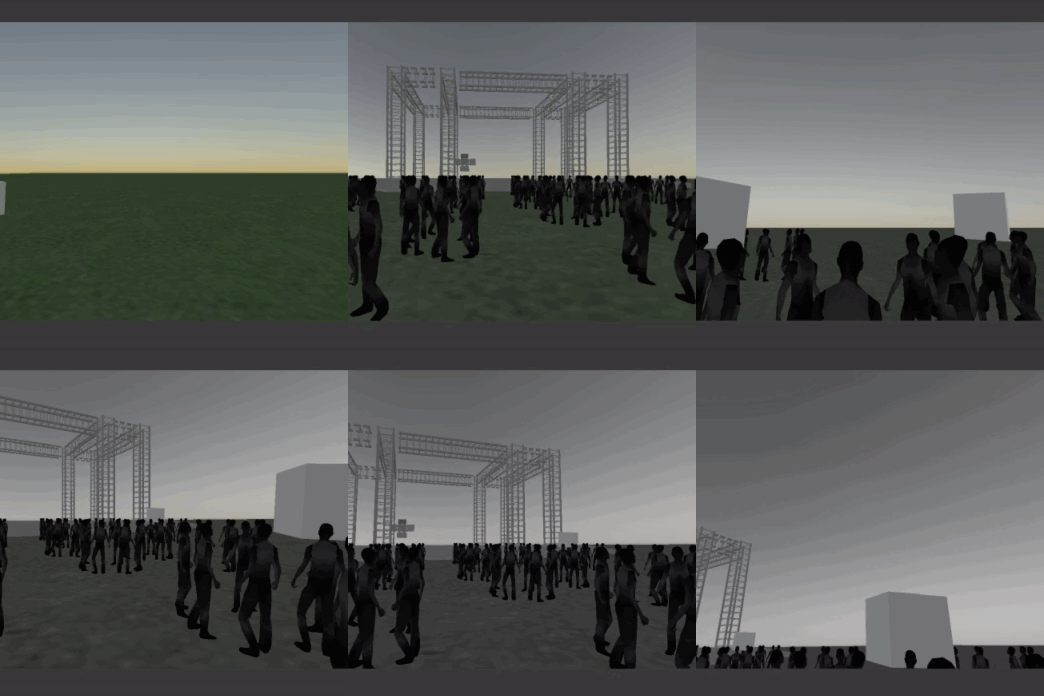
When developing the greyscale image effect shader (found below), I was working with a stress and anxiety system we designed. The system channeled information from multiple variables and components in the scene and applied it to a function that would produce a number from 0 to 1 depending on the degree of stress and lerp between different outputs to reflect a transition of anxiety instead of a spike.
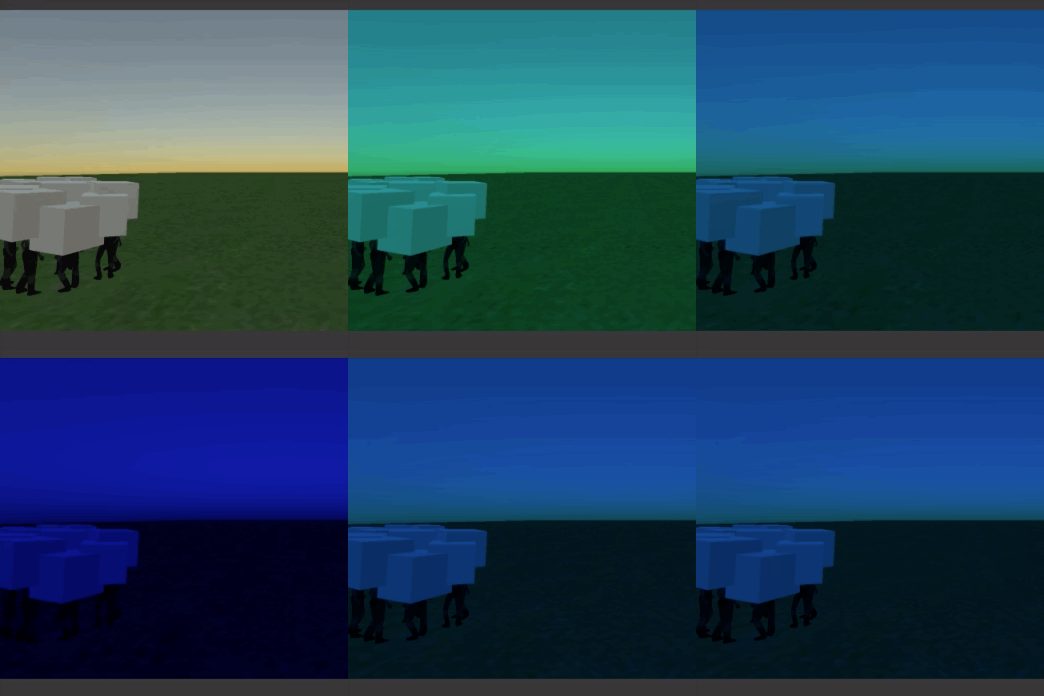
My task was to reflect anxiety through the absence of color. I designed a greyscale image effect shader to produce what we wanted but also experimented with exposing and using the RGB values we ever needed them.
One of the issues we came across with the initial state that greyscale image effect shader was that even though the colors were drawn from the scene, it did not have a strong impact on the player's experience. I decided to add a few other variables brightness and contrast. These two working along the greyscale shader provided the results we were looking for. We were able to get the scene darker without having to adjust our lights in real-time and we increased the intensity of the effect by adjusting the contrast of everything in the camera viewport.
ANIMATION PIPELINE
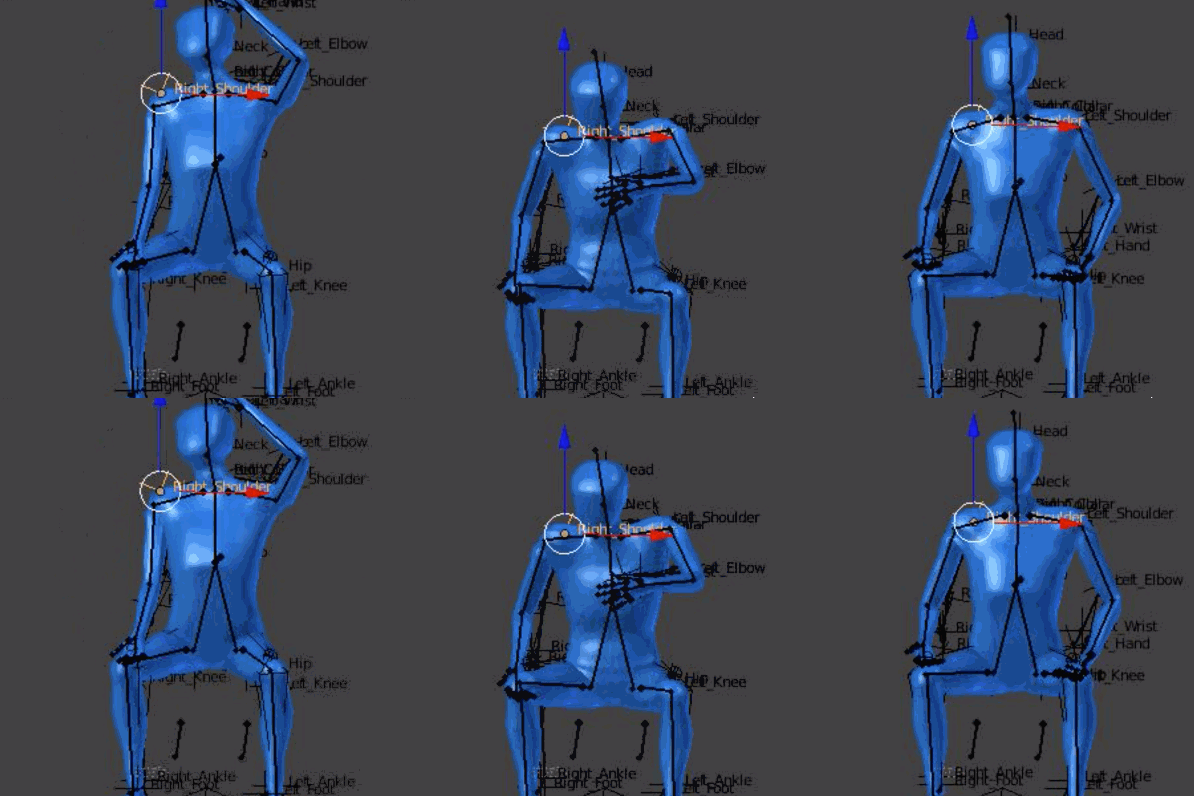
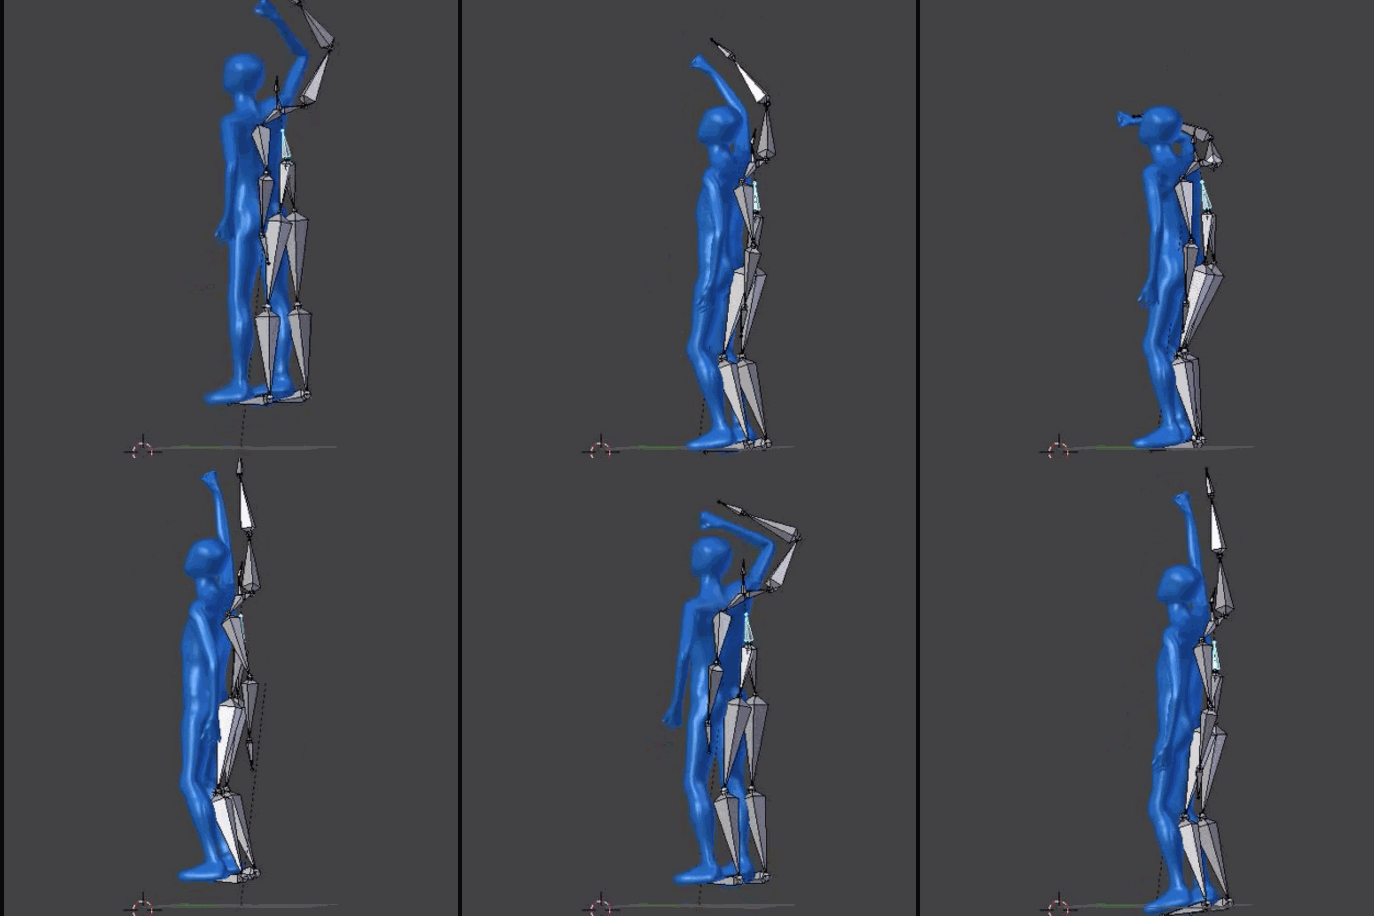
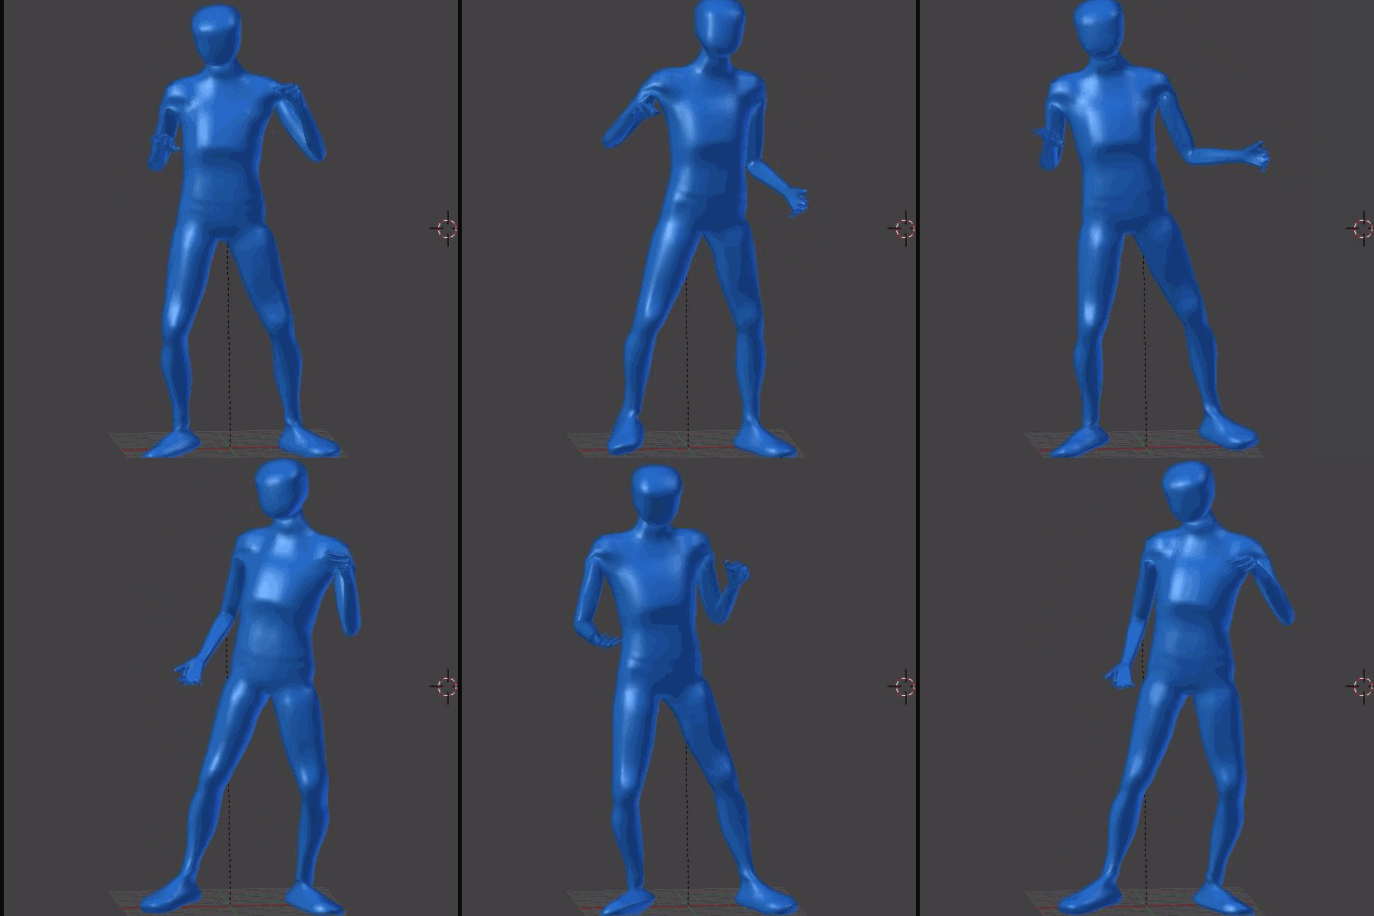
I worked with our lead animator, Herman Wu, to setup a pipeline for motion capture animations using a Kinect2 and Blender. I did not make these animations, they are only examples of what Herman was able to create through our pipeline.
